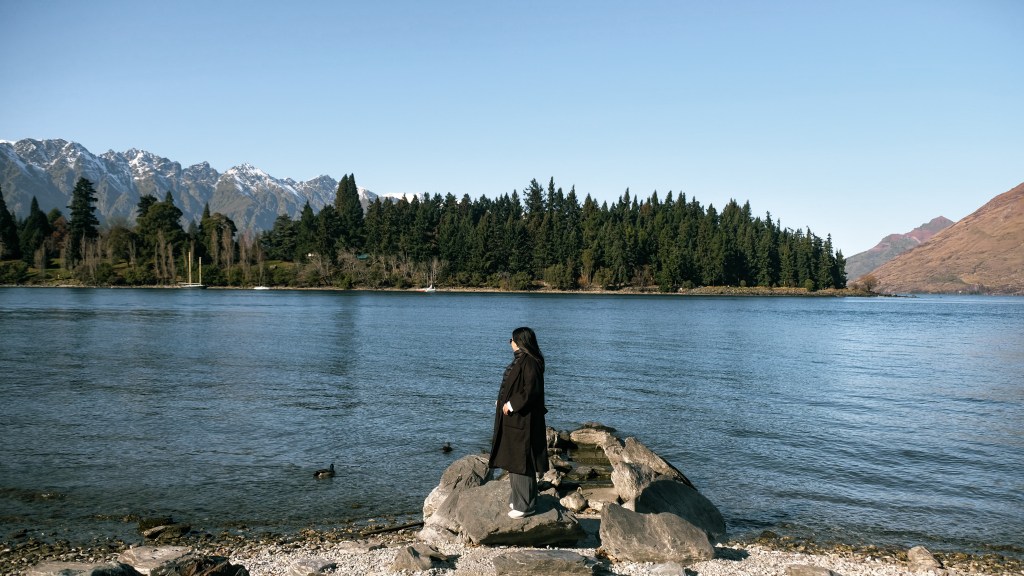
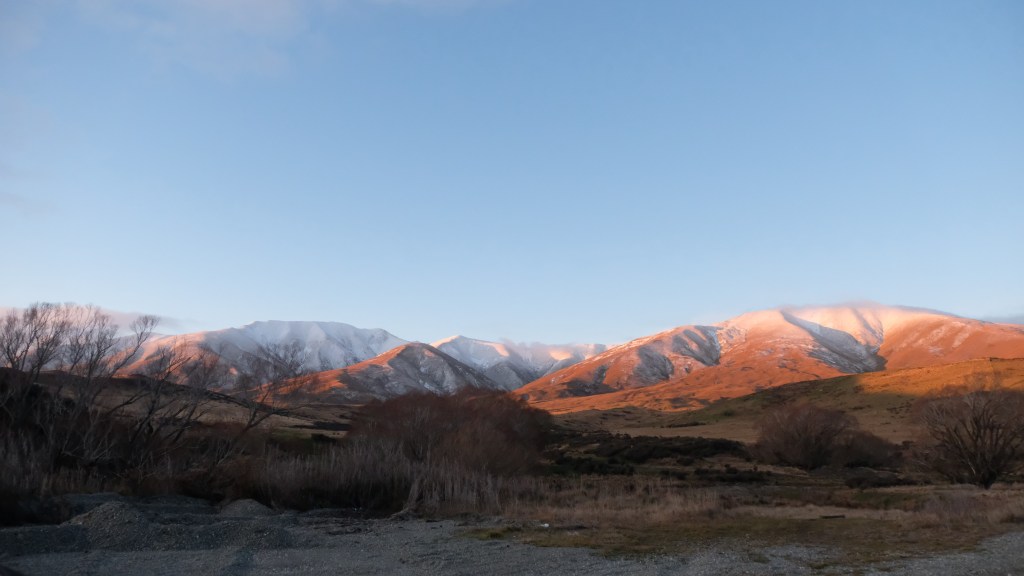
New Zealand has always been on my bucket list but I never expected to finally tick that item on my list this year. All thanks to the Philippine National Women’s Football team, I finally saw New Zealand’s breathtaking landscapes!
After more than a month, I finally made some time to share how I was able to get my New Zealand visitor visa online.
Good news for Philippine Passport Holders!
Given that you’re applying for a visitor or tourist visa and you’re only planning to visit New Zealand for 59 days or less — here’s the good news — you no longer have to pay for the visa fee. Only then you will have to pay NZD$165 if you are planning to stay for more than 59 days.
“Are you sure it’s free? I knew someone who still paid…” 100% yes! The visa fee has been waived but there’s another catch. I’ll share more about it a little bit later, so just keep reading.
First things first…
New Zealand has different visas for different travel purposes so make sure you know which visa type you will be applying for to ensure a smooth and enjoyable trip. Knowing what type of visa to get is important to determine what specific requirements you need to prepare.
#1 Visitor Visa (Tourist Visa)
This visa allows you to explore New Zealand mainly for leisure purposes. If you’re planning to visit your family or friends, or if you’re planning to attend conferences or sporting events (like me), you may apply under this category.
#2 Work Visa
It’s pretty straightforward, you apply for this visa if you have a job offer in New Zealand. This will allow you to work there legally and temporarily.
#3 Student Visa
If not for work, you can also go to New Zealand to study. Having this type of visa allows you to study full-time at a recognized institution.
#4 Resident Visa
This visa is more complicated than the rest of the visa types as this requires length of stay and strong qualifications. Skilled workers and those who have immediate family members already residing in New Zealand may apply for this visa.
I’m sure there are more visa types but for this blog entry, I will mainly focus on the first one — Visitor Visa. I will only be sharing how to get a Visitor Visa since that was my experience. You may visit the official Immigration New Zealand website if you’re planning to apply for a different type of visa.
Applying for a Visitor Visa
Now that you’ve determined what visa type you’re getting, I’ll go through all the steps, requirements, and some handy tips to make it a breeze for you. I made this quick guide on how I was able to lodge my application without going to any VFS branch. So let’s begin!
Visa application process
There are three ways to lodge your visa application:
- in-person (via VFS)
- online
- via courier
I lodged my visa application online, similar to how I applied for my Australian Visitor Visa. I find doing it online the easiest and best option, you just need to complete the forms on the website and upload your scanned documents and requirements. However, do note that even if you choose to apply online, there is still a possibility that you will need to go to any VFS branch if the embassy asks you to present your passport.
If you plan to apply in person via VFS, you will need to complete a long application form and honestly, it can get tedious. Aside from the forms, you will need to print or bring copies of your supporting documents and you will also need to pay for additional processing or documentation fees. If you’re thinking of applying via courier, prepare to pay for more.
The decision is all yours but I would still recommend applying online for convenience.
Sooo let’s just say you’ve decided to apply online… The next step is for you to create an account on the Immigration New Zealand website. After creating an account, you need to verify the email you used to successfully activate your account.

Log in to your RealMe Account. Under Applications, “Create a new visitor visa application”. A page titled ‘Is this form right for you?’ will show up. On this page, you will be asked if you have a Visa or MasterCard to pay for your application. You need to answer ‘Yes, I am from a fee waiver country’. Note that you can only choose that option if your planned NZ trip is less than 59 days. Proceed answering the next questions and START YOUR APPLICATION!

Basically, you will need to provide basic information about your identity, contact information, work, business or employment history, travel details, health details, etc. You just need to answer truthfully as the questions are pretty straightforward.
You can save your application form at any time and come back later to finish it but just make sure you save it because after thirty (30) minutes of inactivity, you will automatically get logged out and unsaved information will be lost. After filling out the form, you will then be asked to upload your supporting documents…
Required Documents
It is important to gather documents that will effectively demonstrate your genuine intent to visit New Zealand and your strong ability to comply with all the necessary visa conditions. Here’s a list of what you need to prepare:
- Passport – Ensure your passport is valid for at least six months beyond your intended departure date from New Zealand. Some would say three months is enough but I always make sure I have buffer time “just in case”.
- Passport-sized Photos – Provide recent passport-sized photographs that adhere to New Zealand’s photo requirements. The photo must be:
- between 500 KB and 3 MB
- between 900 x 1200 pixels and 2250 x 3000 pixels
- a JPG (or JPEG) file. Check this page for more information.
- Proof of Funds – Show evidence of sufficient funds to cover your travel expenses during your stay. You may submit bank certificates, bank statements, and proof of assets or investments.
If you have a sponsor, it’s helpful to include a notarized affidavit from your sponsor that indicates how they will be sponsoring your trip. If your sponsor is a family, friend, or relative, you must submit some proof of relationship. These can be birth certificates, photos, chat conversations, etc. - Travel Itinerary – Provide a detailed itinerary of your travel plans, including accommodation reservations and intended activities.
- Flight Booking – Unlike Australia, you will need to submit a reserved flight booking when you apply for a New Zealand Visitor Visa. In our case, 30,000 PHP was too much of a risk, so we reserved our tickets via OneWayFly.
- Invitation Letter – If visiting friends or family, include an invitation letter explaining the purpose of your visit and the relationship between you and the host.
In our case, my friend sent me a certified letter (sealed at a court in New Zealand) inviting us to visit their home and also sharing that the main purpose of our visit was to watch the FIFA games. We could’ve skipped this but decided to include this in our application anyway. - Employment and Income Documents – If employed, provide proof of employment, leave of absence approval, and tax certifications. For self-employed or entrepreneurs, submit proof of your business. It can be your business registration, DTI certificate, BIR registration, or SEC registration.
- Travel Insurance – Secure comprehensive travel insurance coverage for the duration of your trip. Gone are the days of skipping this step, here’s a quick guide on how to easily get a travel insurance.
- Additional Supporting Documents – Depending on your circumstance, you might need to provide additional documents to prove your home ties.
If you want to provide more supporting documents or proof to support your home ties, you can gather those documents in one (1) PDF file and upload it on the RealMe website. Note that you need to keep related files together (e.g. multiple pages of bank statements PLUS your bank certificate). Make sure your PDF files don’t exceed the required size. Know how to compress your PDF files here.
PAYMENTS
As I mentioned, there is NO VISA FEE for Philippine passport holders IF you are staying in New Zealand for 59 days or less. You will need to pay NZD$165 IF your trip is more than 59 days.
However, this year (2023), the government of New Zealand has implemented an International Visitor Levy Fee wherein all tourists need to pay NZD$35 (approximately 1,300 Php) to help invest in the country’s sustainable tourism growth. Even if you’re traveling for less than 59 days, you are still required to pay the IVL fee.
After completing the application form and uploading all the documents, you may submit your application, pay the IVL fee and a confirmation page will show. It will either tell you if you need to print the page and submit it with your passport to VFS or not.
In our case, I had to call the VFS office in Cebu to confirm because I initially thought all applications had to make an appointment with VFS. They informed us it’s just case-to-case basis and our application didn’t require us to go to VFS.
IF upon submission of your online application, you were asked to go to the VFS to present your passports, you will be paying separate fees to the VFS. You can ask a representative to do this for you if you don’t have time or you’re too busy to do it yourself. Just prepare cash because as far as I know, they’re only accepting cash. A safe amount would be 1,000php.
Once everything is submitted and paid for, remember to keep the receipt. Since the New Zealand Embassy is now issuing electronic visas, you have to make sure your email is active. All correspondence will be via email. You will receive an acknowledgment email from Immigration New Zealand that they have received your application and another email for your visa application result.
Waiting time…
Patience is a virtue, especially when you’re waiting for your visa application results. I checked the RealMe portal to track our application and it took 11 working days before we got THE EMAIL.
Once the visa was granted, I just printed a copy of the approval letter which includes my visa details. Before our trip, I reviewed my visa and ensured I understood its conditions. Upon arrival in New Zealand, I completed the electronic arrival form (there’s also a paper version of the form) and presented it along with my passport to the immigration officer. I did not include my visa because it’s already in their system but of course, if the officer asks for a physical copy, I have one ready.
More questions…
How much money do I need to have in my bank account? According to Immigration New Zealand’s website, one must at least have NZD$1,000 per month (approximately 35,000 Php) or at least NZD$400 per month (approximately 14,000 Php) if accommodations have been arranged and paid.
Can I submit other documents not listed above? If it can support your application and strengthen your home ties, then yes include it!
How long does it take to get the results of my New Zealand visa application? Standard time is 20 days but some people get their results earlier.
For more information, you can check the sidebar menu of your RealMe account.

Obtaining a New Zealand tourist visa as a Philippine passport holder is achievable with careful planning, thorough documentation, and adherence to the visa requirements. I hope this guide can help you understand the process and prepare the requirements to secure your New Zealand tourist visa. I am excited for you!


If you have any questions, or if you want some tips, feel free to leave a comment or message via e-mail. If you like this article and want to see or know more about my other trips and tips, follow me on Instagram, Facebook, and Twitter.


Leave a comment